PS怎么抠图换背景 PS抠图换背景图文教程详解
2019-12-20 00:08:27 作者:xx
很多小伙伴在生活中都会有一些P图的想法,最常用的就是抠图换背景,但是很多使用ps的新手朋友对抠图换背景还不太了解。那么,PS抠图换背景方法技巧是什么样子的呢?下面和小编一起来看看吧。
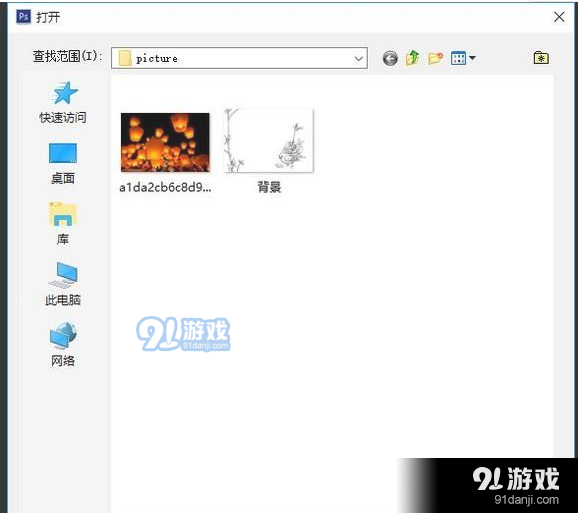
1、首先打开ps,再按Ctrl+O打开图片。
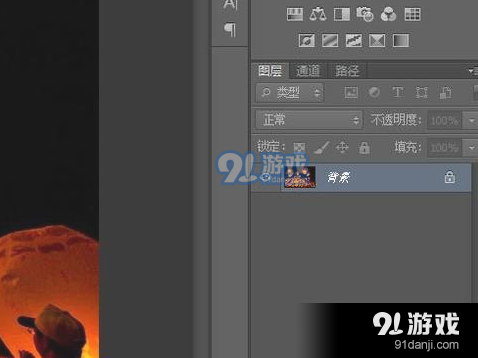
2、在右下角"图层1"的右方有一个类似锁头的东东,将它拖到下面那个垃圾桶标志,然后松开鼠标,此时图层解锁成功。
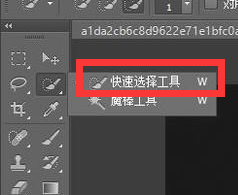
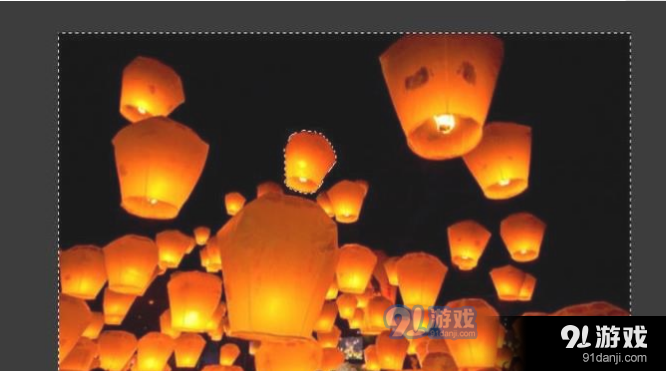
3、接下来选择需要扣的区域,在工具栏中有个笔加圆圈形的图标上,右键点击它,然后选择"快速选择工具",再点击或者长按拖动鼠标进行选区。
4、然后按住Alt键并滚动鼠标滑轮调整图片的大小,再对边缘进行修整。
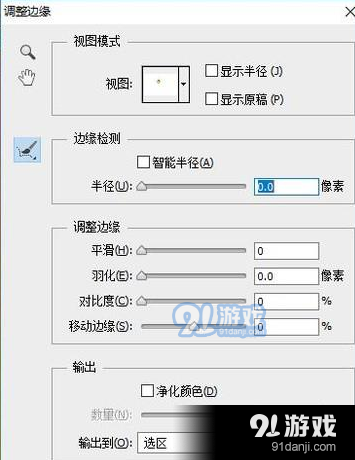
5、选择好想要的区域,再按住Ctrl+Alt+L反选。
6、再按Delete键删除选区。
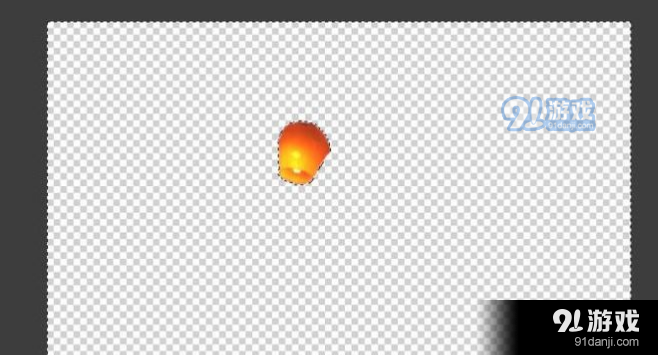
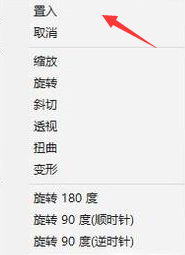
7、然后我们加入选区到背景图片,点击文件→打开,选择背景图片并打开,然后将背景拖动到PS中,拖动图片的四角可以调整大小,再按住Shift键不放拖动是等比例放大缩小,然后点击右键并点击置入即可完成背景的更换。